DKIM (DomainKeys Identified Mail) is one of existing ways to authenticate email messages. If the email contains a DKIM digital signature, the sender is set to high reliability.
This authentication is used to avoid the possibility of finding your server’s IP-address black listed on mail servers.
Run the following setup via the ispmanager control panel for adding DKIM to your domain.
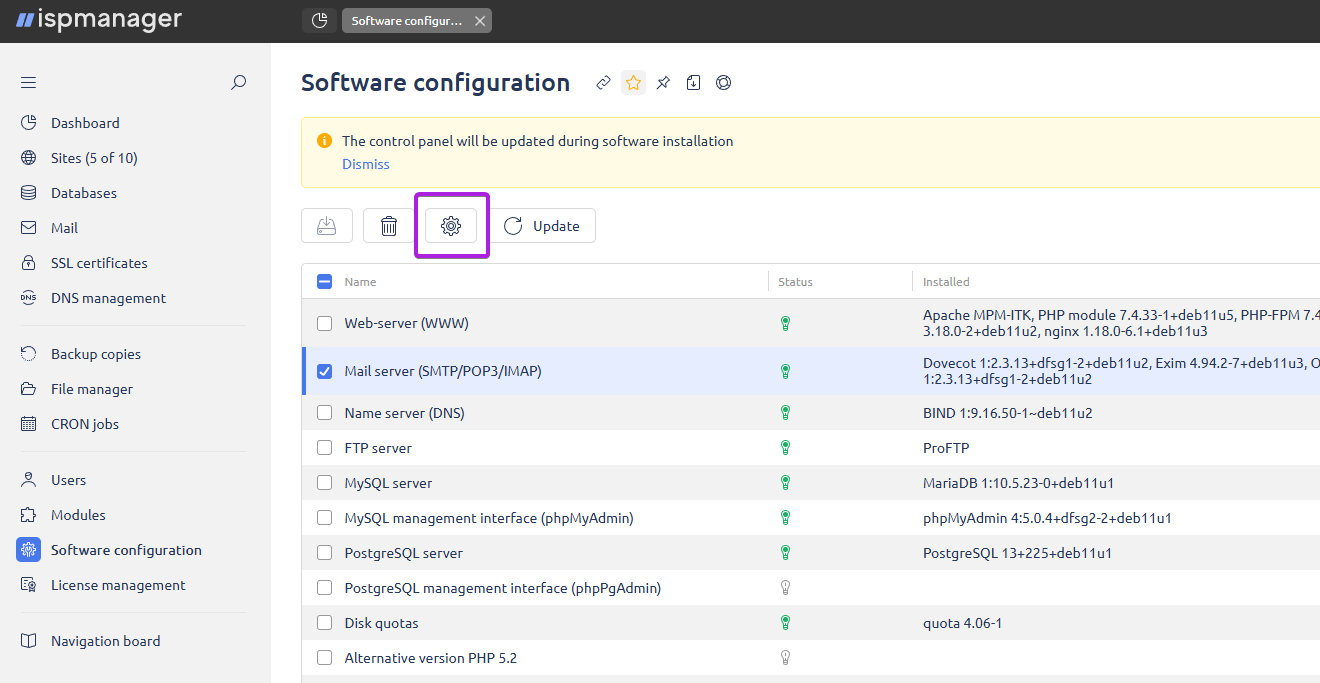
In ispmanager, go to Settings — Software configuration, select Mail Server... and click the Software settings button.
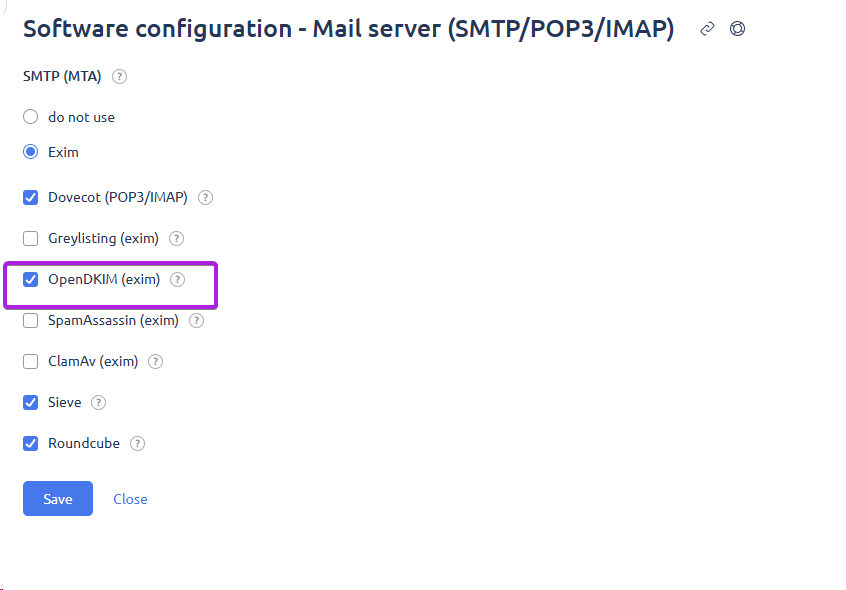
Check the OpenDKIM (exim) box and click on ⚙️ Apply Changes.
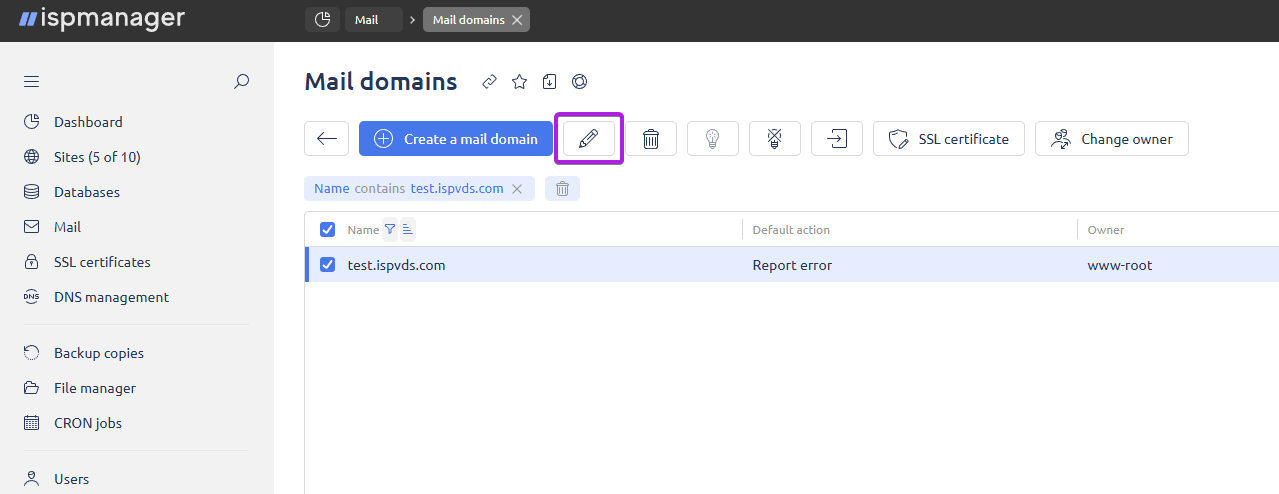
Then go to the Mail section — the Mail domains button — select a domain and click «🖉».
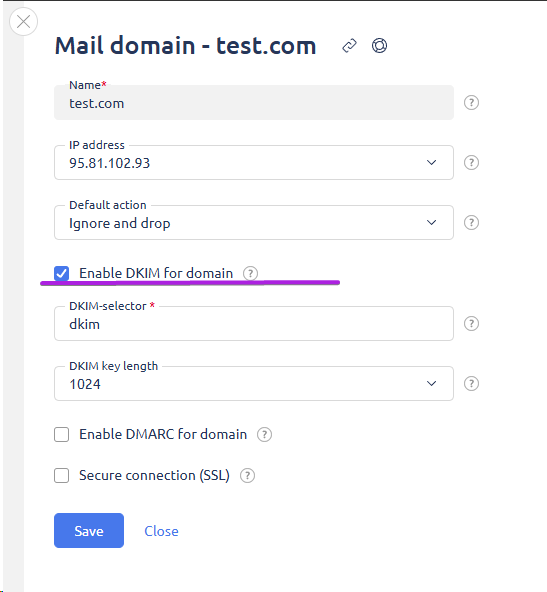
Check the box next to Enable DKIM for domain and click Ok.
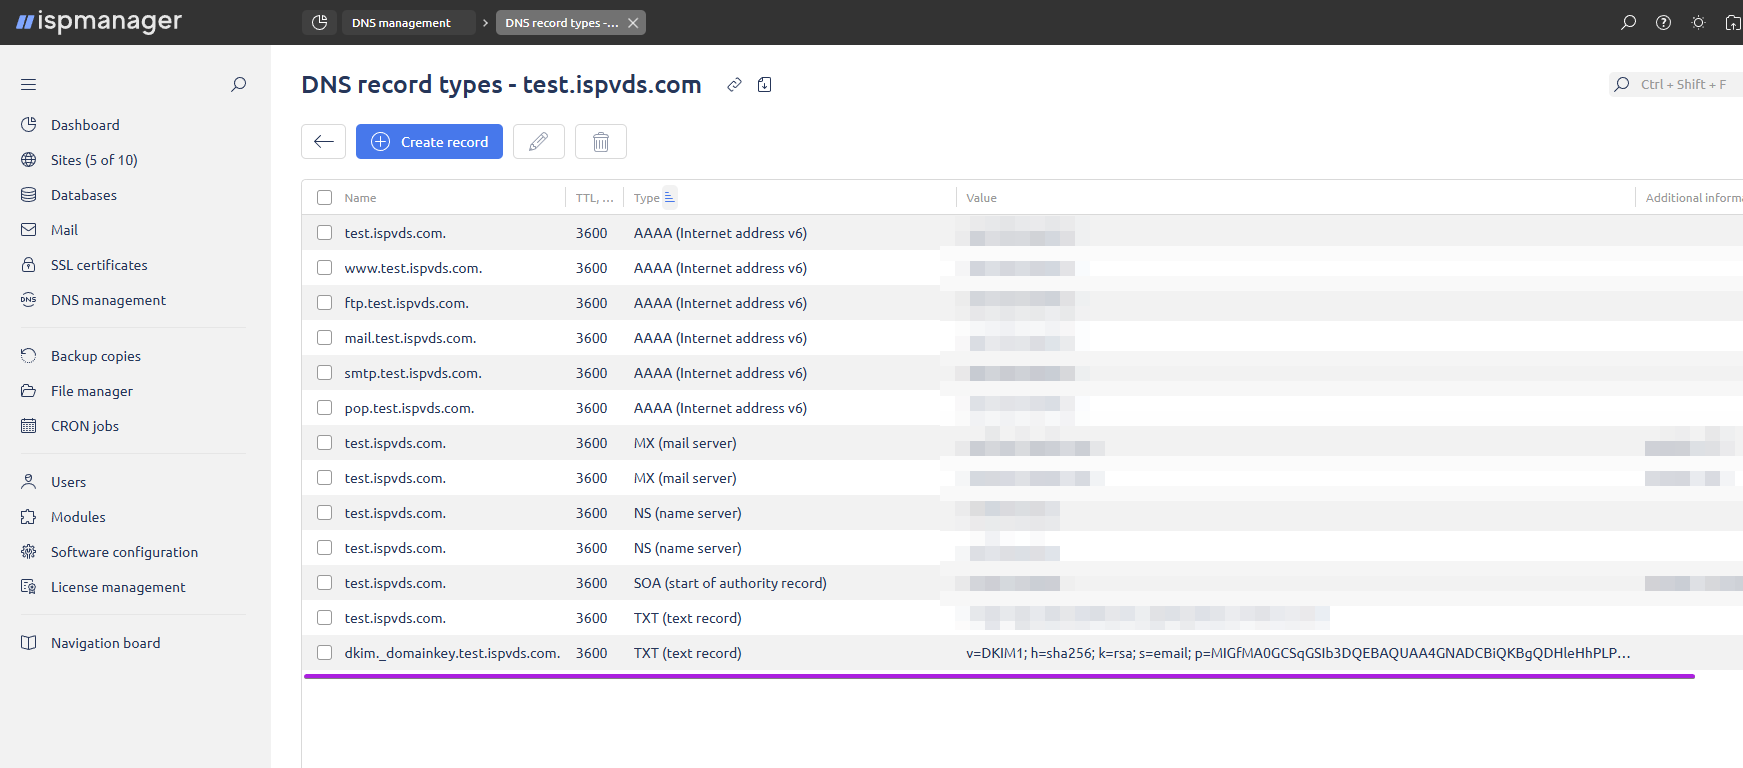
DKIM records will be added to the domain resource records; you can check their presence in the DNS Management section - the Manage DNS records button.
To verify that the DKIM signature is working correctly:
- Send a test email from your email address to an alternative email account that you have access to.
- Open the received message and view the full email headers. Among them, you should see a line beginning with DKIM-Signature:.
If the DKIM-Signature header is present, it indicates that the message was successfully signed with DKIM.